TROPICALOMBREMADNESS
Hello!
I have just finished putting together my very first mini tutorial for
you all. I am a bit of a sucker for ombre colours at the moment, I love how
professional it looks and you can do it with any colours you want, it’s a really
easy design to do and you can customise it to any theme for any time of the
year!
Saying that however, I have done a sunset/tropical theme… controversial
I know with the cold nights already with us! Maybe it might just warm you all
up ;-).
Let me know what you think and if you have any questions then let me
know! Hope this can give you some inspiration and ideas.
Happy Nail Painting!
Emily xo

So firstly, you will need to push back
any cuticles and file your nails. I started off with a natural straight edge
nail, as I think it was appropriate for the design. Try and make
sure that when filing they are all the same length!
It may mean trimming down that really long nail that you had been
growing for ages! It always looks tidier when they are all similar lengths. I
used OPI's 'Nail Envy' as a clear
base coat (I will write a 'my nail necessities' post soon), this
protects the nail polish staining the nails and creates a smooth canvas for you
to work on. Leave them to dry for as long as you can!

Then you will need to thinly paint your
nails a white colour (Or any base colour that will highlight the ombre colours,
white always works the best)
I used Model's
Own 'Snow White'. When you first put the colour on and it dries, it may not
look perfect and
opaque, but it doesn't matter because it’s only there to bring the
colour out of the ombre. You need to leave this to dry as fully as possible,
otherwise the colour in the next step won't apply properly and it won't look
great!
Now
this is the step that everyone expects to be really complicated, but it really
couldn’t be any easier!
Put
those nail brushes and tiny pieces of car sponge down and pick up your trusty
triangle make up sponge! You can pick up these triangle door stopper shape
sponges from Boots, Superdrug or any nearby drugstore, they are normally really
cheap and you can buy packs of 20 for in some cases for under £5! They should
already be wide and tall enough for your whole nail, you can cut them down but
I personally don’t.

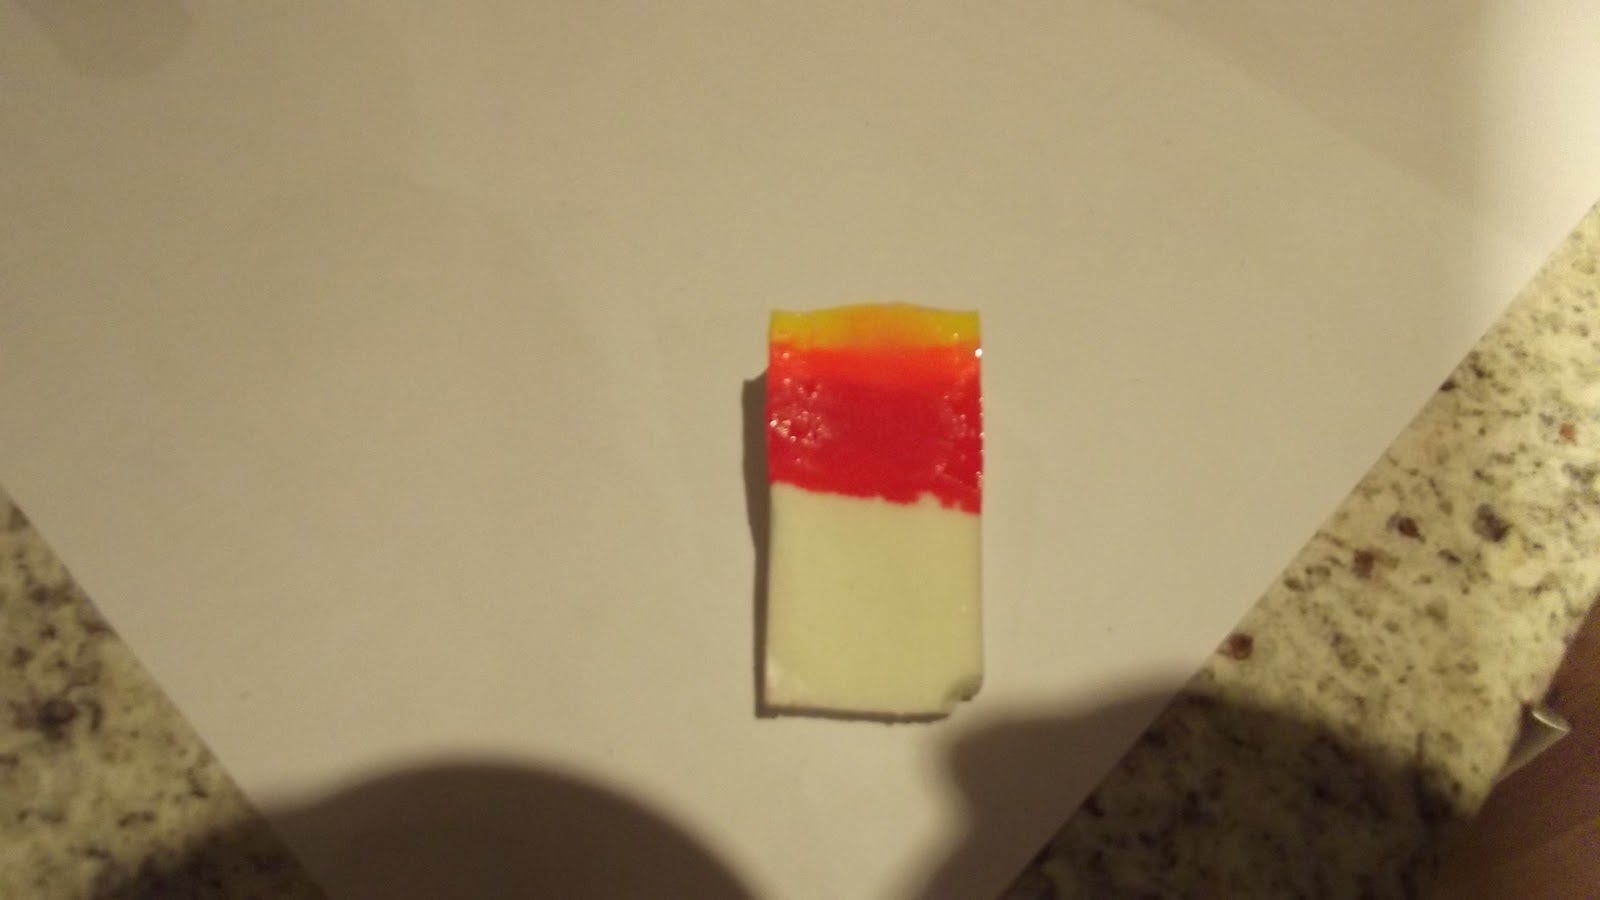
You
want to start by putting the colour you want at the cuticle edge at the
thickest part of the sponge. In this case I used yellow by RIO Nail Art. Further up I applied a thin line of a lovely neon
orange colour by Nina Ultra Pro called
‘Orange Flame’, above this I applied an orange colour with subtle pink
undertones by OPI called ‘Cajun Shrimp’.
You need to work quickly before the top layer starts to dry!
grab the nail you want to print on and hover over the top of the nail
where you would want to press.

Then, press down quickly and sharply, preferably repeatedly and try to
blend the colours together so they blend through to the ombre.
So next,
Make sure you only stamp 5-6 times, as after a
while you will start to dampen under layers and it will pull off all the
polish! Not nice!


I would apply a clear
coat on top to seal it all together blend the colours together further.
Next I added some
separation lines for the effect of a blind window, looking out to the sunset! I
used my RIO nail art pens and put 3
or 4 strokes on each nail to separate the colours in ombre. A final clear up at the end around the edges of the nail, and I added on a few palm
trees and birds to add to the look, to round off 10 cute tropical sunsets!

Hope you enjoyed the
tutorial, if you have any questions; comment below (even anonymous!) or tweet
me at @EJMORGANASHLEY :-D